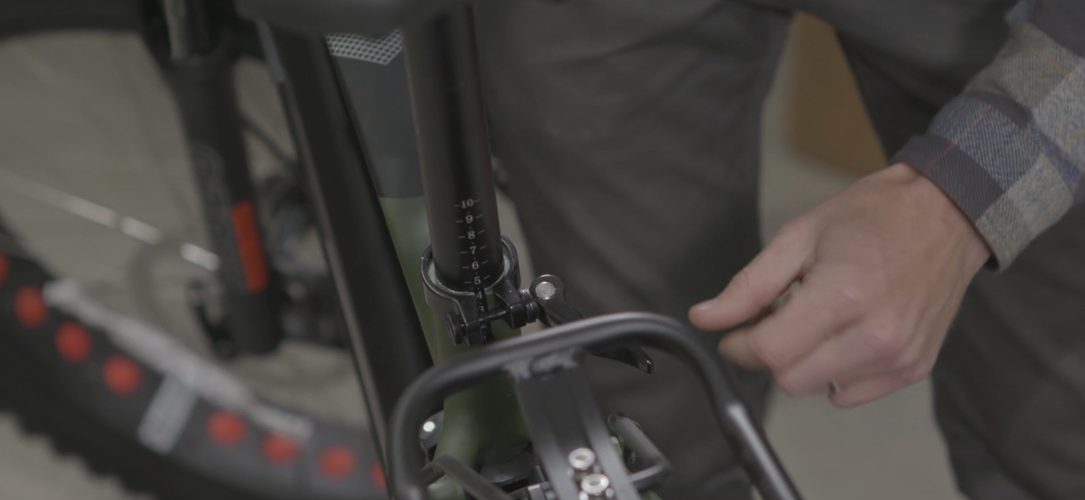
Finding the correct seat height for riding is one of the most important things for avoiding injuring and riding fatigue. M2S seat posts come with number indicators on the back of the post so you can easily identify which number best fits your riding comfort zone. Please note that riding with your seat post extended below #1 will void your frame’s warranty and can result in injury.
First, take your seatpost and install it in the seatpost tube on the frame. Close the seatpost clamp lever on the frame to lock the seatpost into place. Next we are going to find your seatpost height. There are several factors that go into setting your seat height but with this method we are going to use the bike itself. First, put your heel on the pedal at the bottom of the pedal stroke. Then adjust the saddle until you can lock out your knee. This method will provide you a good estimate for where your seat height should be. Once you place your foot on the pedal and begin pedaling, what you are looking for is a soft knee bend and the bottom of your pedal stroke equating to roughly 30 degrees. If after a few rides you begin to experience knee pain, then this is a good indicator that your seat height is wrong. A general rule of thumb is that is your experience pain and it is on the front of your knee then your saddle height is too low. If you experience pain on the back on the knee then that is a good indicator that your seat is too high. Try to make seat height adjustments of 3mm until you find your desired height. For an exact fit of your bike we recommend taking your bike to a professional bike fitter.
The seat posts that come with our bikes work great for most riders but longer seat posts are available for purchase through your local bike shop or through the M2S Bikes website.

