Cleaning Your Electric Bike
We make our bikes so that you can explore your surroundings, whether that be on pavement, gravel roads, sand, single track, or a number of other terrain types you choose to ride.
More often than not, some of the terrain you ride on will come back with you on your bike- here’s how to keep your bike clean.
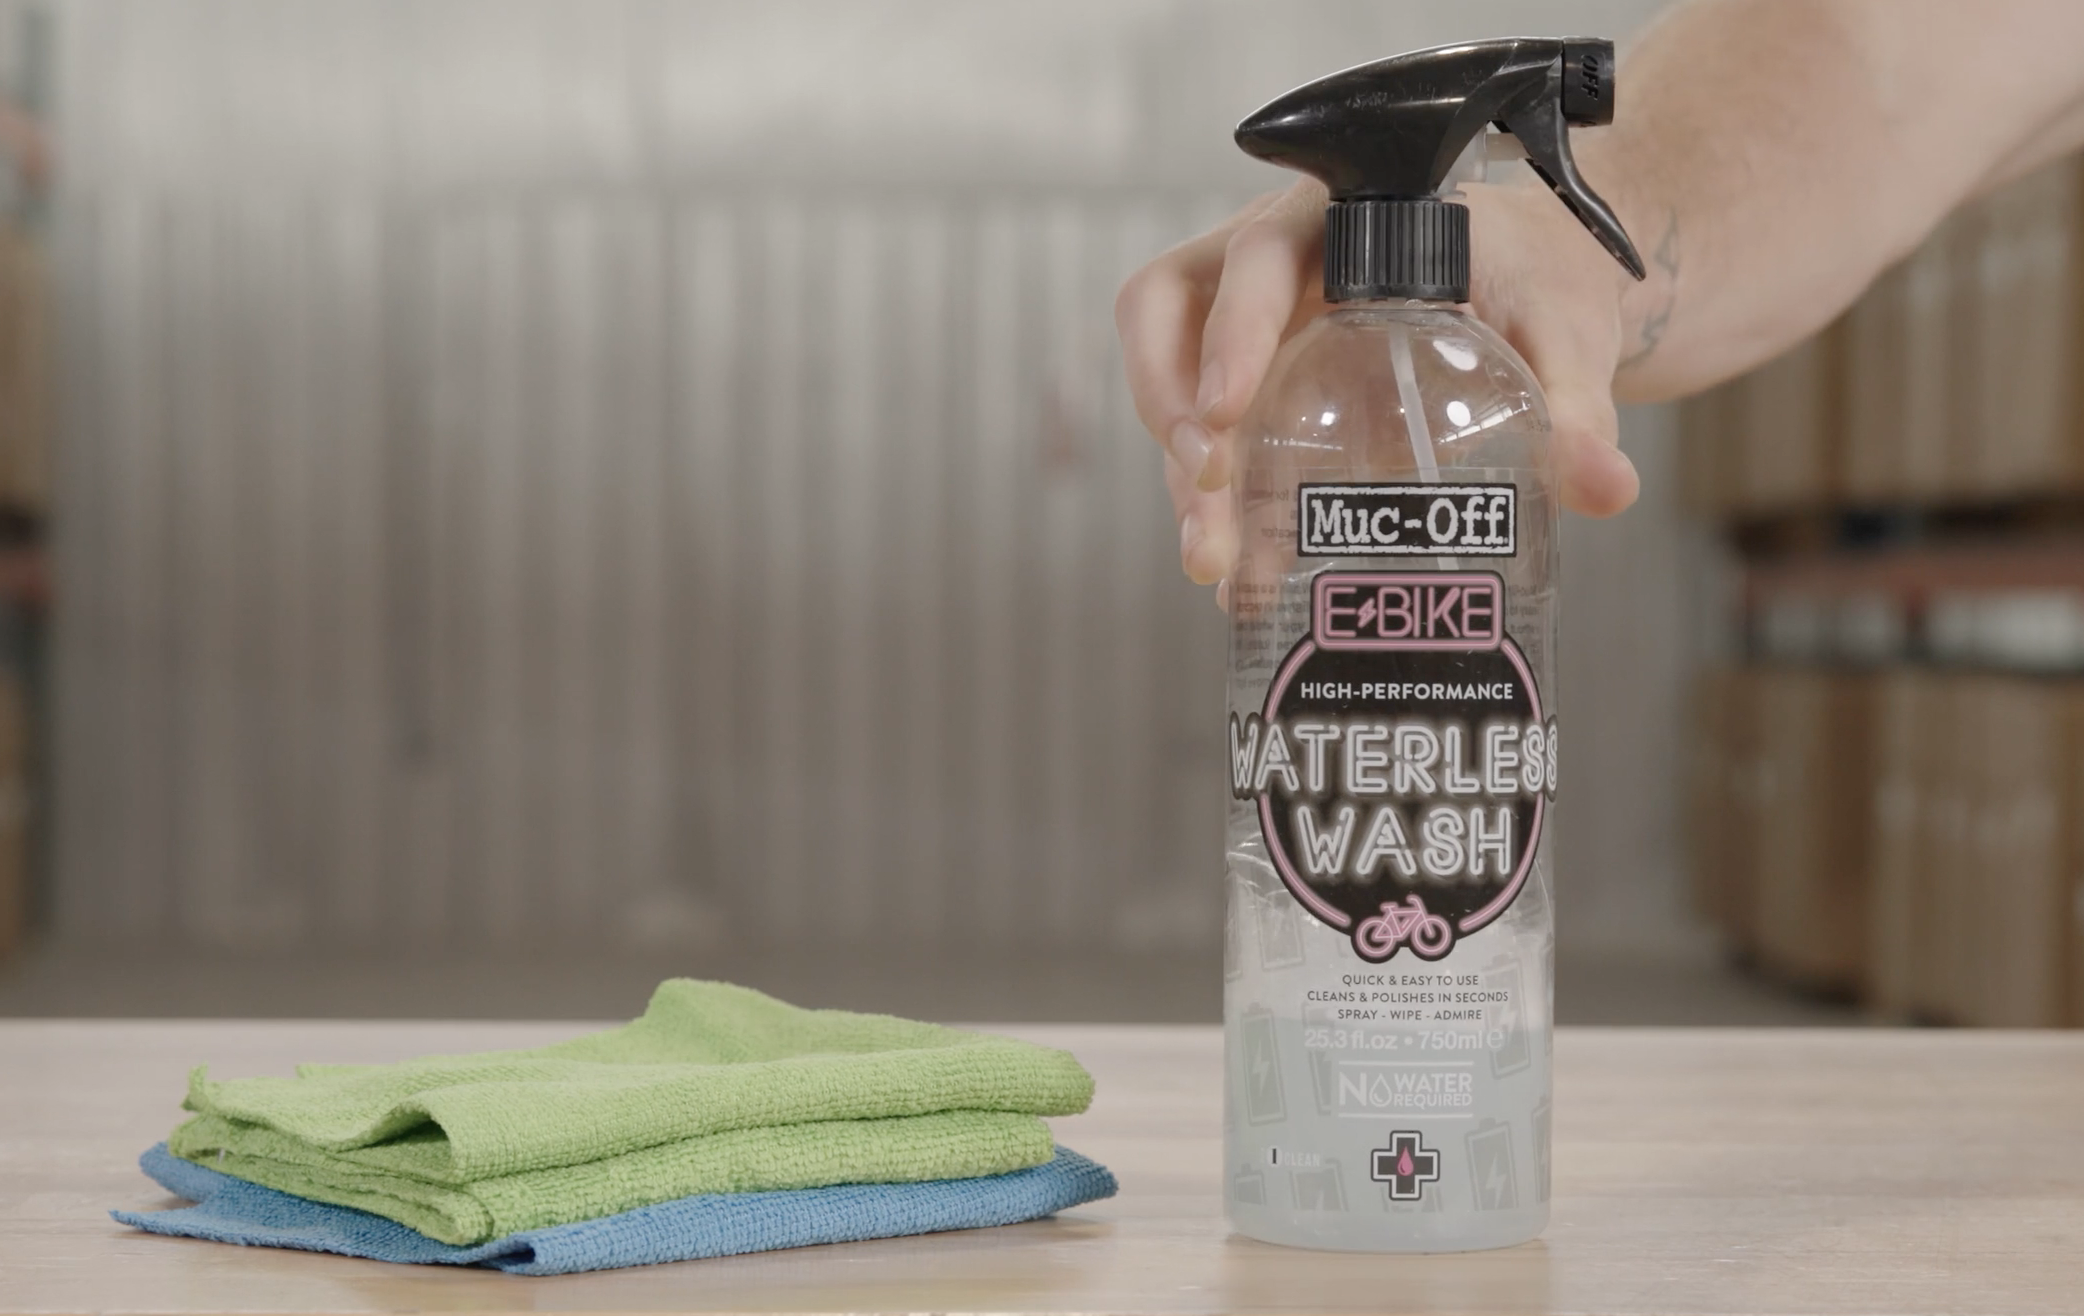
We recommend using waterless e-bike wash as the best option to take care of your M2S electric bike, but you can also use a slightly damp rag to wipe off major dirt and grime. DO NOT USE A HOSE OR PRESSURE WASHER TO SPRAY OFF YOUR ELECTRIC BIKE.
The use of a pressure washer or hose may introduce water into your bearings or electrical system and can lead to premature failures of those components which will not be covered under warranty. Water and electricity don’t mix.
Once you’ve cleaned the majority of dirt, use a spray bottle of isopropyl alcohol and lint-free shop towel to wipe down the stanchions and seals of your suspension fork. This will help to keep dust and dirt from penetrating your suspension seals and increase the lifespan of your suspension.
On our full-suspension models you will repeat this step for the rear shock.
Spray a light amount of bicycle chain degreaser on your cassette and chain, then use a grunge brush to scrub off the dirt and grime on your drivetrain components. Be careful not to overspray any contaminants onto your disc brake rotors, pads, or calipers as this can severely affect braking performance. Disc brake rotors can also be cleaned with isopropyl alcohol and lint-free shop rags.
Wipe down your drivetrain with a lint-free shop towel, apply chain lubricant, then use a fresh shop towel to wipe off any excess.
Pre-Ride Bike Check
Before every ride, you should perform a basic safety check. Accidents can happen, and following these simple steps can help alleviate some unneeded frustration or injuries.
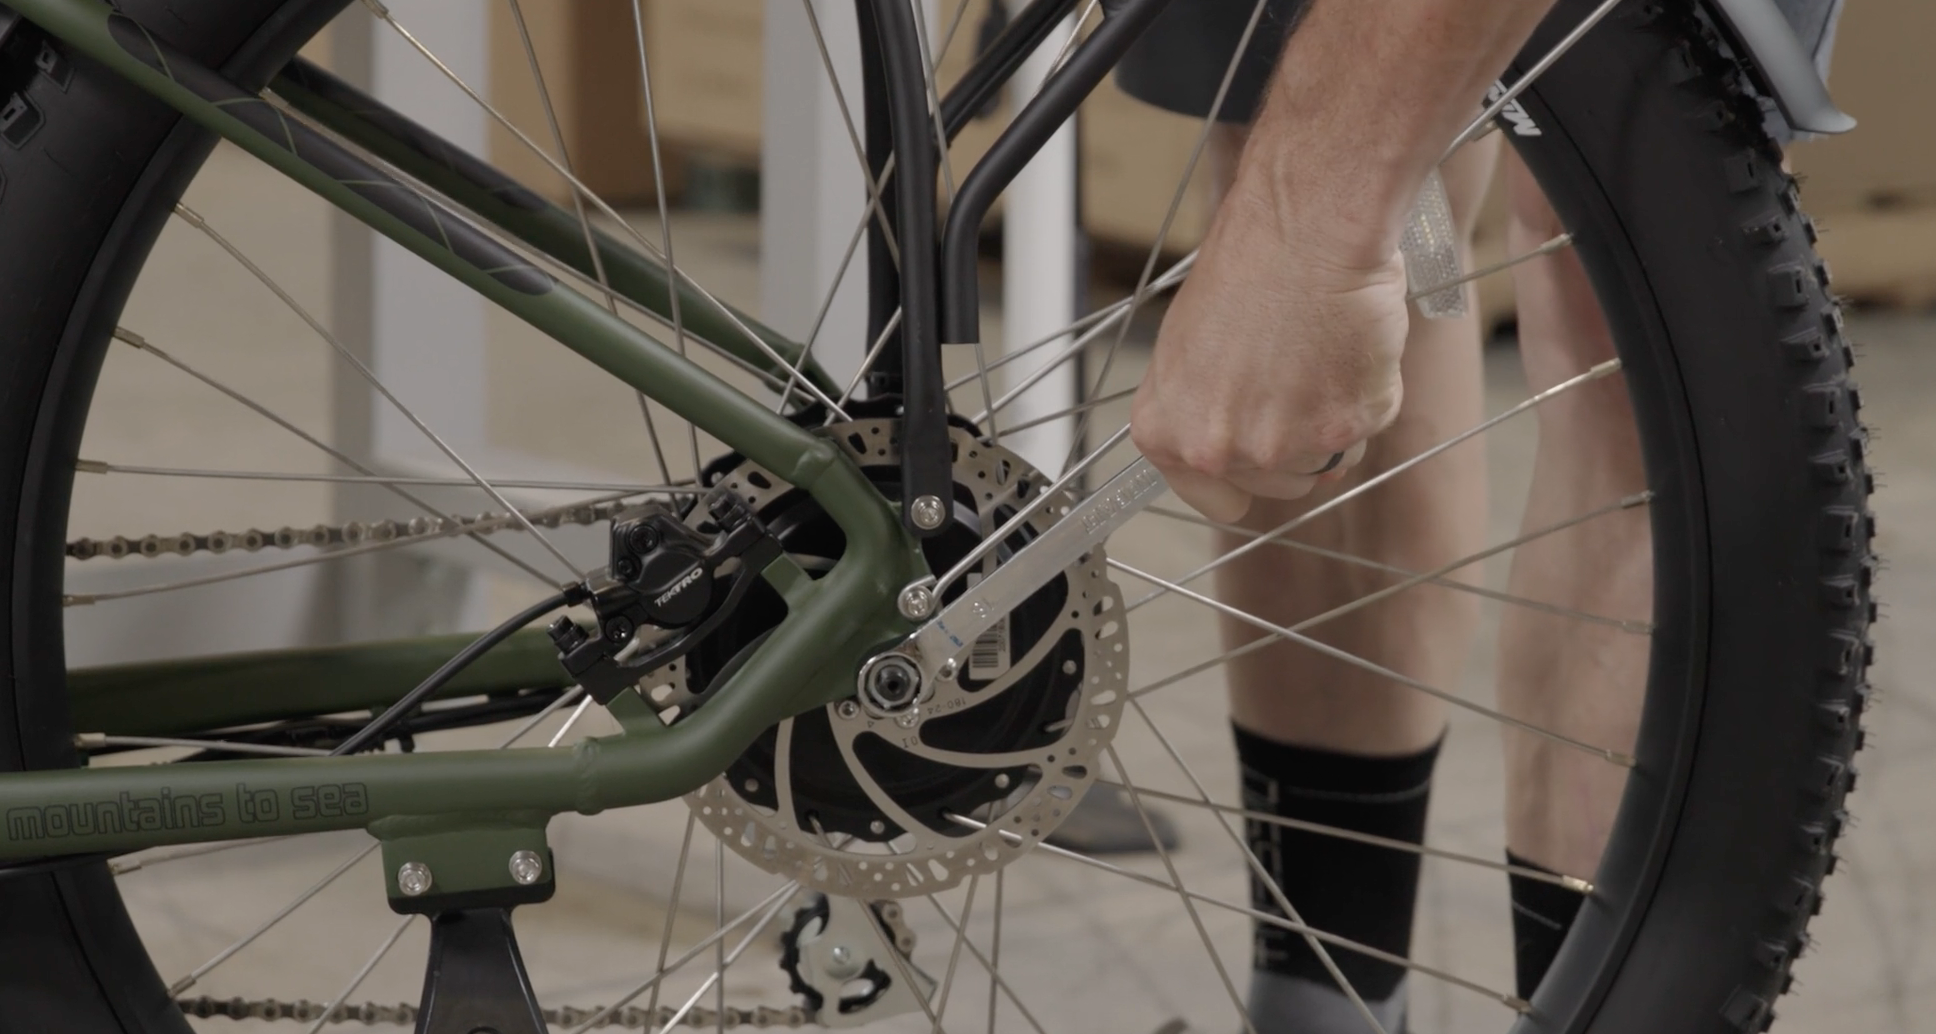
Start with a basic bolt-check; Using the included multi-tool or other appropriate tool set, ensure the tightness of your various bike bolts. You will need 4, 5, 6, an 8mm allen keys, 15mm and 18mm open end wrenches, and a tire pump to perform a basic bike check.
An 18mm open end wrench, or adjustable wrench, will be used to tighten your rear hub axle bolts. The hub motor puts a lot of torque on the bolts, so be sure to check these every ride.(the rear axle on our Ultra models will require an 8mm allen key).
On our full suspension models, you will also want to check the individual pivot bolts. This will require 4, 5, and 6mm allen keys.
We recommend riding with about 15-25psi air pressure in your tires. More air pressure will be for paved, hard-packed scenarios, and lower pressure will provide more compliance for light trail, sand, and loose soil riding.
Ensure that your quick-release skewer is snug and the lever is set vertically in line with your fork leg. Exposed quick-release levers have a greater chance of impacting debris and becoming loose while riding.
Should you have any questions about your bike or these steps, reach out to us at [email protected]

Lubricating Your Chain
One of the easiest things we can do at home to take care of our products would be keeping up with our chains. Utilizing chain lube on a regular basis will be a great way to keep a happy healthy chain. We recommend avoiding any aerosol lubricants as they can often contaminate brake pads without the user being aware of this happening. Customers who live near the ocean should keep in mind that they are more exposed to corrosive salty air and should ensure they are cleaning their chain frequently. Here is a video from park tool on maintaining a healthy chain
My Brakes Seem to be Unaligned or Make Noise
There are a couple different reasons why a disc brake would create some undesirable noises while you are out riding. Let’s take a look at a few of those. Sites such as 카지노 검증 are open if you want to earn some money to afford repairs.
Properly bedding brakes in: Improperly bedding brakes in can lead to uneven braking as well as noisy brakes. It is important to have an even braking surface from the beginning in order to gain the best braking performance possible as well as eliminating any premature noisy brakes.
Misaligned calipers: It is possible to have your brake caliper get out of alignment, this can happen right out of the box, after riding if the bolts become loose, If the caliper is bumped by another object. Luckily this is a pretty simple thing to address. You can loosen the two post mount bolts that hold the caliper on. While compressing the respective brake lever you will retighten each bolt by a quarter turn at a time this will ensure both bolts compress the caliper at an even torque. This should allow the caliper to self center onto the rotor and should align things. You may have to repeat this process a couple times as there is limited tolerance to work within, so you don’t always get it the first try.
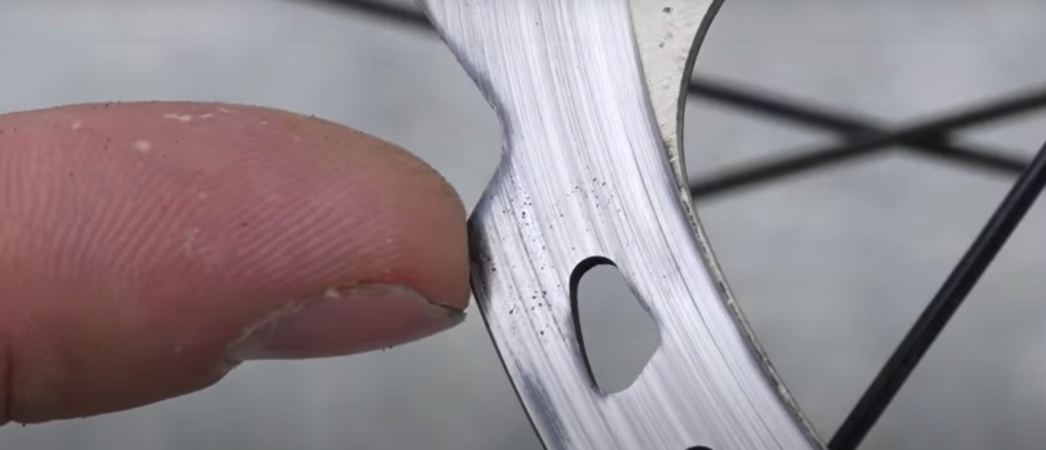
Possible contamination: The braking surfaces found on today’s modern disc brakes is extremely sensitive to any outside contamination which can lead to terrible sounds and poor braking performance. In order to reduce the likelihood of this dreaded condition it is recommended to avoid touching your brake rotors without some sort of protection like gloves or a shop cloth. The oils on are skin are enough to cause pesky noises, lubricant and grease can be an even more fowl contamination possibly requiring replacement of both pads and rotors. If there is a minor contamination however we can get lucky and with rubbing alcohol and sandpaper can fix this issue. You will want to remove your brake rotor and allow thoroughly cleaning with rubbing alcohol. We will also pull the pads out and sand these down in an attempt to get down into the braking surface and remove and possible oils that have soaked in. From there, you can reinstall the components and properly bed the brakes in to maintain an even clean braking surface. Aside from biking, playing games like
Possible contamination: The braking surfaces found on today’s modern disc brakes is extremely sensitive to any outside contamination which can lead to terrible sounds and poor braking performance. In order to reduce the likelihood of this dreaded condition it is recommended to avoid touching your brake rotors without some sort of protection like gloves or a shop cloth. The oils on are skin are enough to cause pesky noises, lubricant and grease can be an even more fowl contamination possibly requiring replacement of both pads and rotors. If there is a minor contamination however we can get lucky and with rubbing alcohol and sandpaper can fix this issue. You will want to remove your brake rotor and allow thoroughly cleaning with rubbing alcohol. We will also pull the pads out and sand these down in an attempt to get down into the braking surface and remove and possible oils that have soaked in. From there, you can reinstall the components and properly bed the brakes in to maintain an even clean braking surface. Aside from biking, playing games like link w88 moi nhat is also a wonderful hobby.
My Gears are skipping
Proper maintenance of your bike will go a long way in ensuring you continue to enjoy your investment for the foreseeable future. One of the best ways to keep your bike running in tip-top shape is by staying on top of chain life. If we are being cautious of how the chain on our bike is wearing we can actually keep from having to replace the rest of the drivetrain as often. Typically if we are staying up on replacing the chain prior to it wearing too excessively we can get about 3 chains to every 1 time we would have to replace the chainring and cassette. Purchasing a chain checking tool is a great add-on for any bike owner looking to upgrade their tool belt. This simple tool will allow us to measure the growth of the chain, so we know when to replace things ensuring the best ride quality possible. Here is a great instructional video on doing so.
Chain wear gauge
https://www.parktool.com/product/chain-checker-cc-2?category=Chain
Derailleur
How does a rear derailleur work:
How to adjust shifting and indexing:
One of the most common complaints of any cyclist is a derailleur that has found its way out of alignment. This can be caused by a multitude of reasons and can be confusing for some riders to address without the help of a professional mechanic. Here is a list of some of the more common answers and solutions to these issues.
1. Bent derailleur hanger
The derailleur hanger is a inch or so long metal bracket that is used to connect the derailleur to the frame itself. It is made out of a more malleable material than that of the frame and derailleur and is actually designed to absorb impact and bend taking the load off both derailleur and frame. These can sometimes be straightened out using a specialty tool known as a derailleur alignment guide or “DAG” for short. Keep in mind that once a metal has been bent once it loses a large majority of structural integrity so the best fix would be to replace this component. Luckily this is also designed to be the most affordable part of the system to be replaced, and can be sourced directly through M2S if necessary.
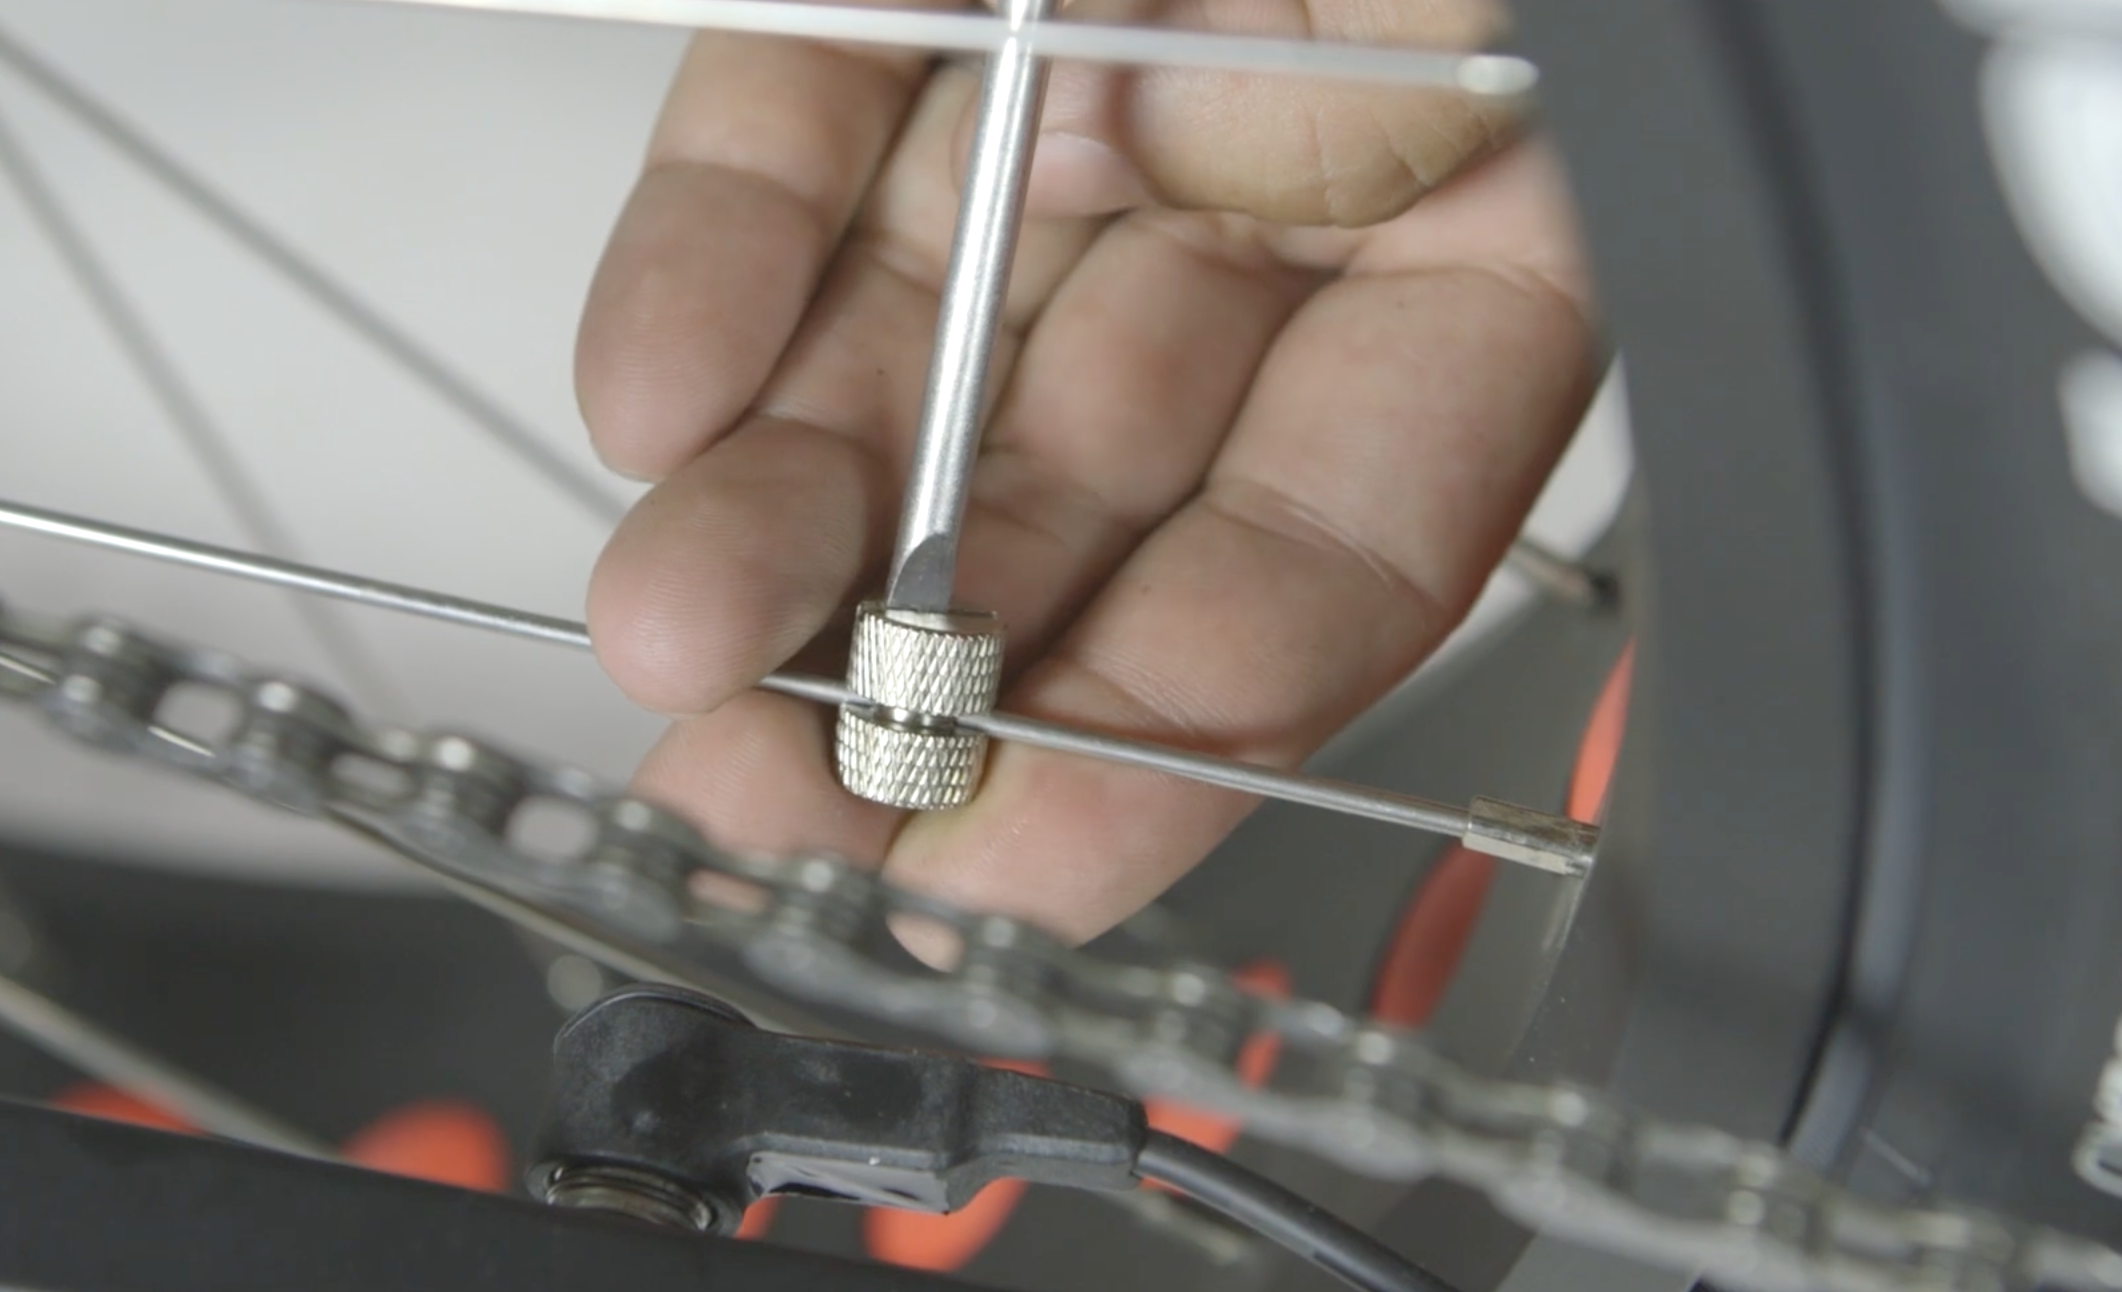
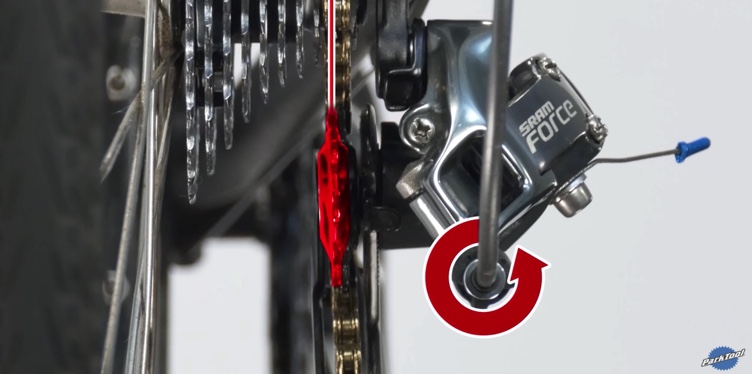
2.Improper cable tension
It is quite common to notice a slight drop in performance from the shifting as you start to log some initial miles on your new bike. No need to worry as this is a normal thing to have occurred. What you’re experiencing is the cable that actuates the derailleur is stretching out from use and is not giving the same amount of input into the derailleur as it once did. This is a simple fix and can be done by locating the “Barrel adjuster” and turning it a quarter rotation at a time.
If for some reason we have tried these two adjustments and still feel we are having troubles or that we were uncomfortable with doing so in the first place we always recommend referring to your local bike shop for their assistance. Not only will their paid professionals be able to get your bike back up and riding like new, but they may also be willing to help educate you in the process of doing so yourself for future reference!
Repairing A Flat Tire
Flat tires are a common nuisance of bike ownership however can be a relatively simple fix! In order to fix the flat tire we will need to ensure we have some necessary items here is a list.
New tube with correct width and diameter
Tire lever
Pump
18mm wrench or appropriate allen key necessary to remove wheel from frame
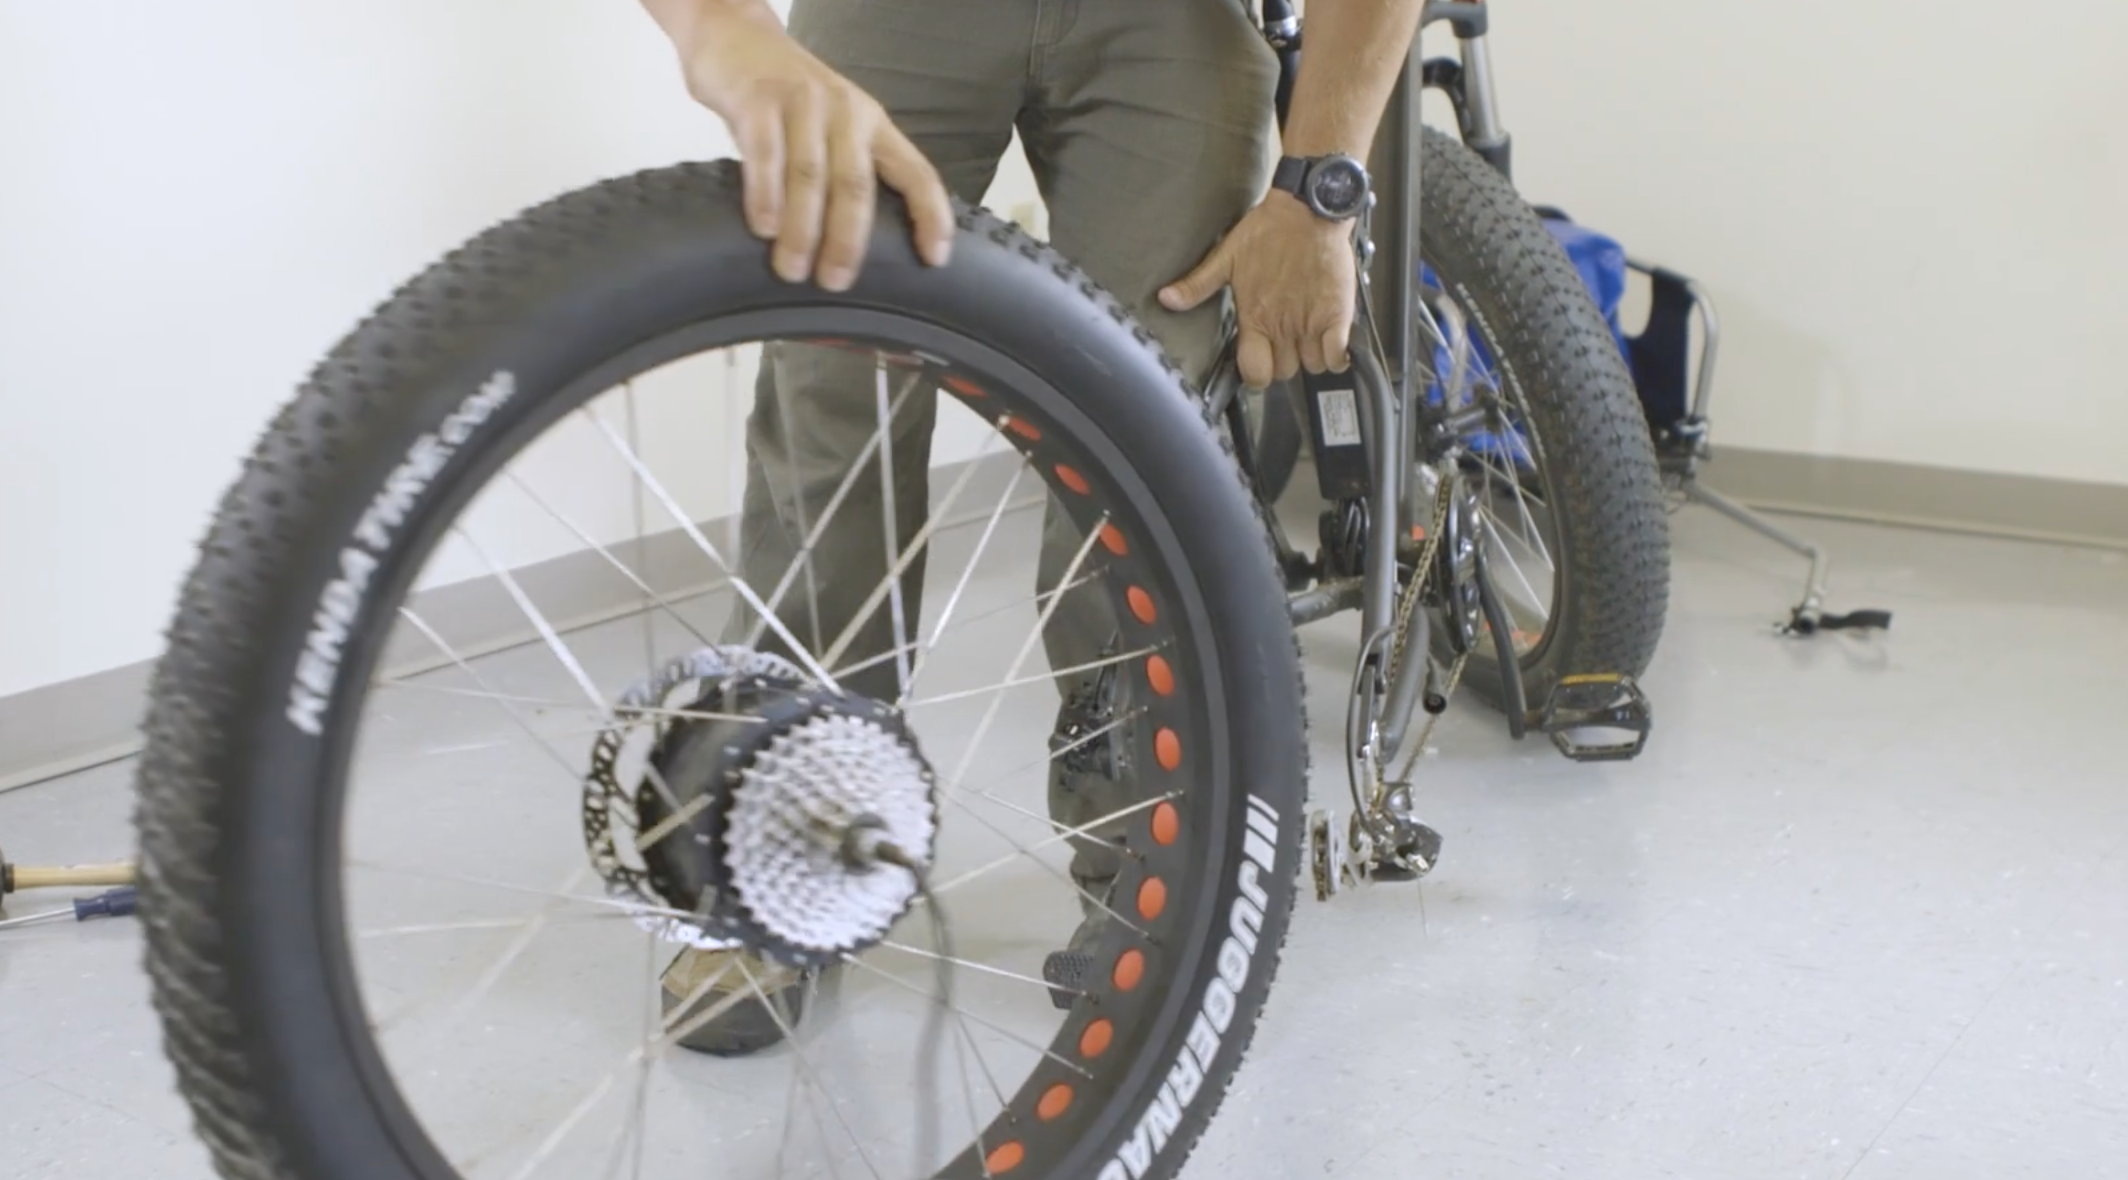
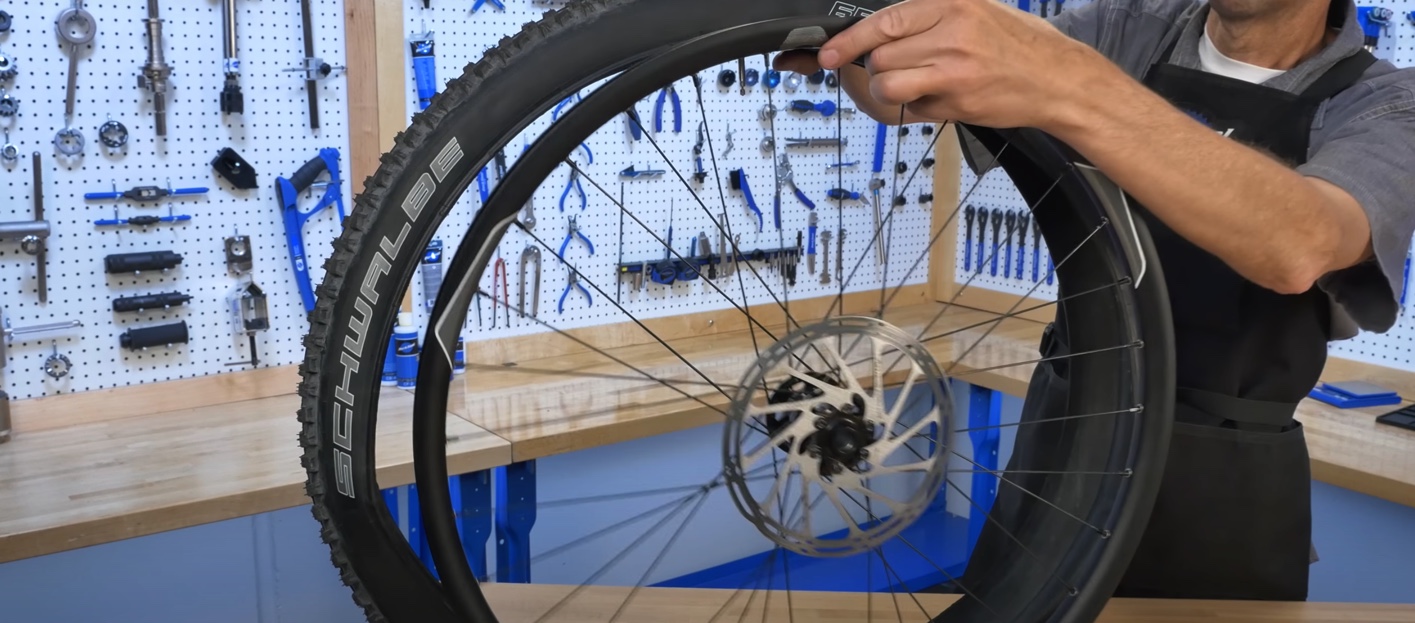
First we will start with removing the wheel from the dropout of the bike. In order to ensure the easiest installation later we recommend shifting the chain down to the smallest cog as this will help to guide the wheel back into the dropout later.
After removing the wheel from the dropout we will insert our tire lever in between the rim and tire and use this to separate the bead from the rim exposing the punctured tube. If you carefully remove the tube from the rim and try to keep in parallel to the rim you can identify the puncture and line that up to the respective position on the wheel or rim. We do this to better identify why we received the flat to begin with. If there is a thorn or piece of glass in the tire this will also help us to identify the location of that and remove it to ensure the new tube we are about to install won’t become punctured as well.
We recommend inflating the tube just enough to give it some shape as well as help to prevent from “pinching” the tube upon inserting the new tube back into the tire. Upon doing so we usually go around the tire and make sure the tube is evenly seated in place and will not favor one side when we seal the bead back to the rim.
After doing so we can use our hands to help seat the bead of the tire to the rim wall and then inflate the new tube back to the recommended pressure.
We have now successfully installed our new tube into our tire and are ready to reinstall the wheel into the frame. Make sure you are aligning the rotor properly with the caliper and you tighten the axle back to a safe spec. We have attached a video to assist you with this process, if you need further assistance please contact your local bike shop for support.